Hands-on guide
How to run your own circuits on a real quantum computer
You do not need a lab or a physics degree, because IBM lets anyone send a small job to a real quantum computer for free. This page walks through the whole thing from zero: what you are actually doing, how to sign up (with the catches), and how to run something and read what comes back.
Part 1
What you are actually doing
A qubit is not quite a bit
A normal computer bit is a light switch: 0 or 1, off or on. A quantum bit, a qubit, is more like a dimmer dial that can sit part-way, holding a mix of 0 and 1. The catch is that the moment you look, the dial snaps to one end, so you read back a plain 0 or 1, never the in-between.
A quantum circuit is a recipe
Despite the name, a quantum circuit is not wires and resistors. It is a recipe whose steps are applied to the qubits in order, like a short dance routine. Each step is a gate, one operation such as “flip this qubit” or “link these two together.” You build the recipe, then run it.
Superposition and interference
Superposition is holding many possibilities at once, like a map with every route lit up. Interference is how you steer that, by arranging the possibilities so good answers reinforce each other and bad ones cancel out. Because you still get back only one when you look, the whole trick is shaping the circuit so the answer you want is the one most likely to come up.
Layers and shots
Two words show up in the results. A layer is one round of the shaping recipe. More layers can sharpen the answer, but each adds settings to tune and, on a real machine, more noise. A shot is one run-and-measure. Since each shot gives one answer, you fire the circuit many times to build up statistics. I used 4,096 shots.
Why a real machine and not a simulator
A normal computer can imitate a quantum one exactly, but the work doubles with every qubit, so it hits a wall around 30. A real quantum chip does not pay that cost, because its qubits are the thing the simulator was struggling to track. That is the reason to use real hardware. More on the technical page.
Part 2
Signing up
The quantum part is free. The account part takes some patience, so here is what to expect.
The service is IBM Quantum, at quantum.cloud.ibm.com. The free tier is called the Open Plan, which gives about 10 minutes of real quantum-computer time each month. That budget resets monthly and does not stack up, so unused minutes do not roll over.
The catch about 'free'
Even though running is free, creating an account that can submit jobs requires a credit card for identity verification, which is not charged for free-tier use. I used my mom's card, with her agreement.
Setup can be bumpy, because creating an instance can error out temporarily. I hit a “failed to retrieve broker” error that cleared on its own after about a day, so if something fails, wait and retry.
On the signup screens, some checkboxes and buttons did not respond to clicks in Chrome, which switching to Edge fixed. If a control seems dead, try a different browser.
Once the account works, you create an instance (a free Open Plan one, in the us-east region) and then create an API key.
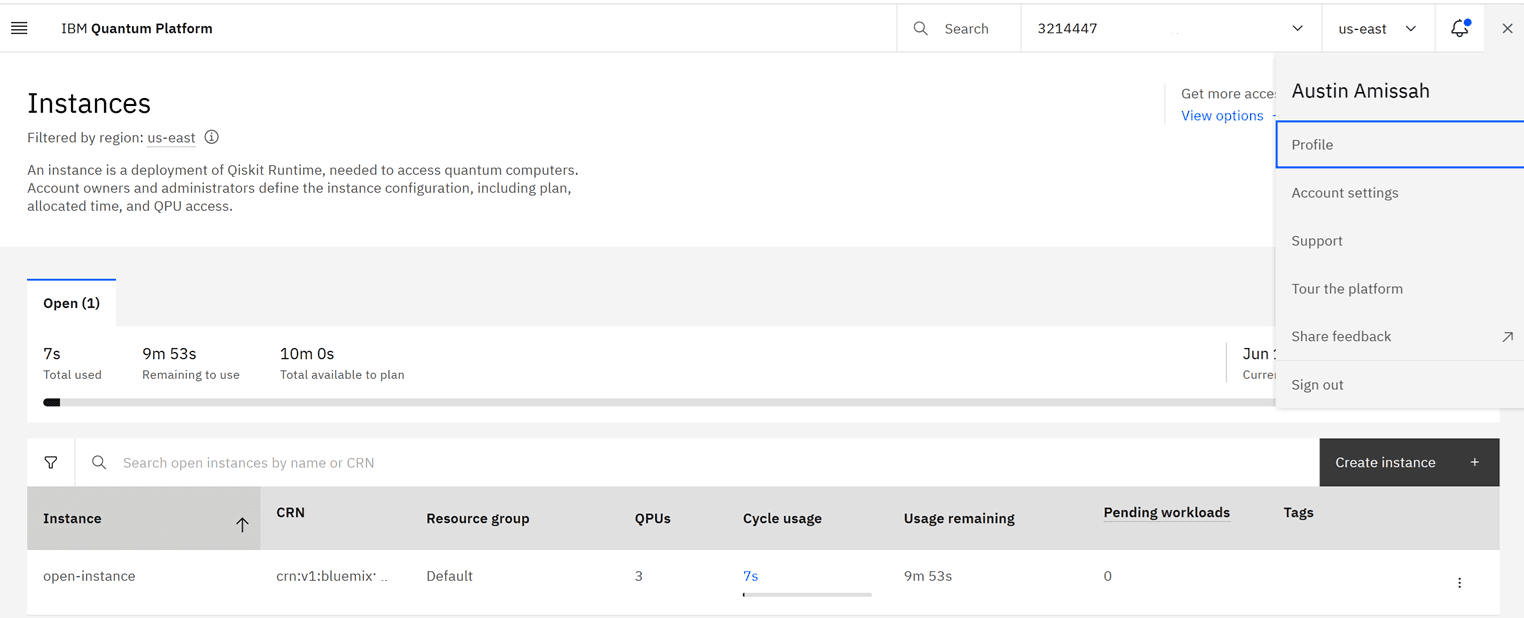
Protect your API key
Treat the API key like a password. Keep it on your own machine, never pasted into a chat or committed to a public repository.
Part 3
Running something
The short version. The full, working code is in my repo.
Install the two libraries you need:
terminal
pip install qiskit qiskit-ibm-runtimeSave your account once, so your computer remembers it. The exact channel and instance settings are in my repo's README:
python (one time)
from qiskit_ibm_runtime import QiskitRuntimeService

QiskitRuntimeService.save_account(token="YOUR_API_KEY", overwrite=True)
List the machines you can use, which is free and costs no quantum time. When I did this I saw ibm_fez, ibm_marrakesh, and ibm_kingston, all 156-qubit machines:
python
service = QiskitRuntimeService()

for backend in service.backends():
    print(backend.name, backend.num_qubits)
# ibm_fez 156
# ibm_marrakesh 156
# ibm_kingston 156
The discipline that protects your 10 minutes
Do all of your tuning and testing on the free simulator, and only send the final, ready circuit to the real machine. Listing machines and building circuits cost nothing, since only actually running a job on real hardware spends your minutes. My first four-circuit run used just 7 seconds.
What eats the budget is shots, not circuits. A later experiment of mine needed one circuit sampled 65,536 times instead of 4,096, so that its measurement error would be small enough for a fair comparison against a second circuit. That pair of runs cost 42 seconds. Repeating the comparison to check it cost 56 seconds, while a run measuring the machine's own variation cost 48 seconds. A later depth experiment and its replication cost 6 seconds each. Everything I ever sent to real hardware came to 165 seconds, still inside two 10-minute cycles. If you work out your budget from the shot count rather than the number of circuits, you will not get caught out.
For a complete worked example, see my repository on GitHub. The submit step there is built on purpose to show exactly what it will send, and to refuse to spend any quantum time unless you explicitly confirm, so you cannot burn your budget by accident.
Part 4
What the results look like
What comes back is counts, meaning how many of your shots hit each possible answer. The difference between that tally and what a perfect, noise-free machine would have given is the hardware's noise.
In my case the noise grew with circuit size, so only my smallest circuit still clearly beat random guessing on the real machine. A later run put that difference to work by comparing two versions of the same problem, one needing 6 qubits and 46 delicate operations and the other 10 qubits and 106. The smaller one came back measurably closer to the right answer. If you plan to compare two circuits like that, the thing to get right before you spend anything is the sample count. Give each circuit enough shots that its own random error is the same size, or the smaller circuit wins for a reason that has nothing to do with your hypothesis.
The full results, with the three-way comparison and the numbers, are on the main project page.
You can do this
The hardest part is the signup
Anyone can run a circuit on a real quantum computer, with a free tier that is enough to learn on. The hard part is the account setup, not the quantum. Once you are in, you are sending the same kind of job a researcher does.
Keep reading